
Common Sag and Tension Mistakes
Conductor sag and tension may seem like a back-office problem: reference the charts, find your number and voila, onto the next pole. While this is true to an extent, the success of sag and tension practices relies entirely on in-the-field practices. Most sag-related failures don't come from bad math, they stem from a handful of small, repeatable mistakes crews make in the field. Using poor temperature readings, misreading charts, pulling a little tighter than you should on a hot afternoon—these are all common examples.
We've written before about the underlying factors that throw off sag and tension like temperature, loading, geometry, creep, and measurement error. This post is the field-level version: the specific mistakes that let those factors become issues and the money that this can cost you.
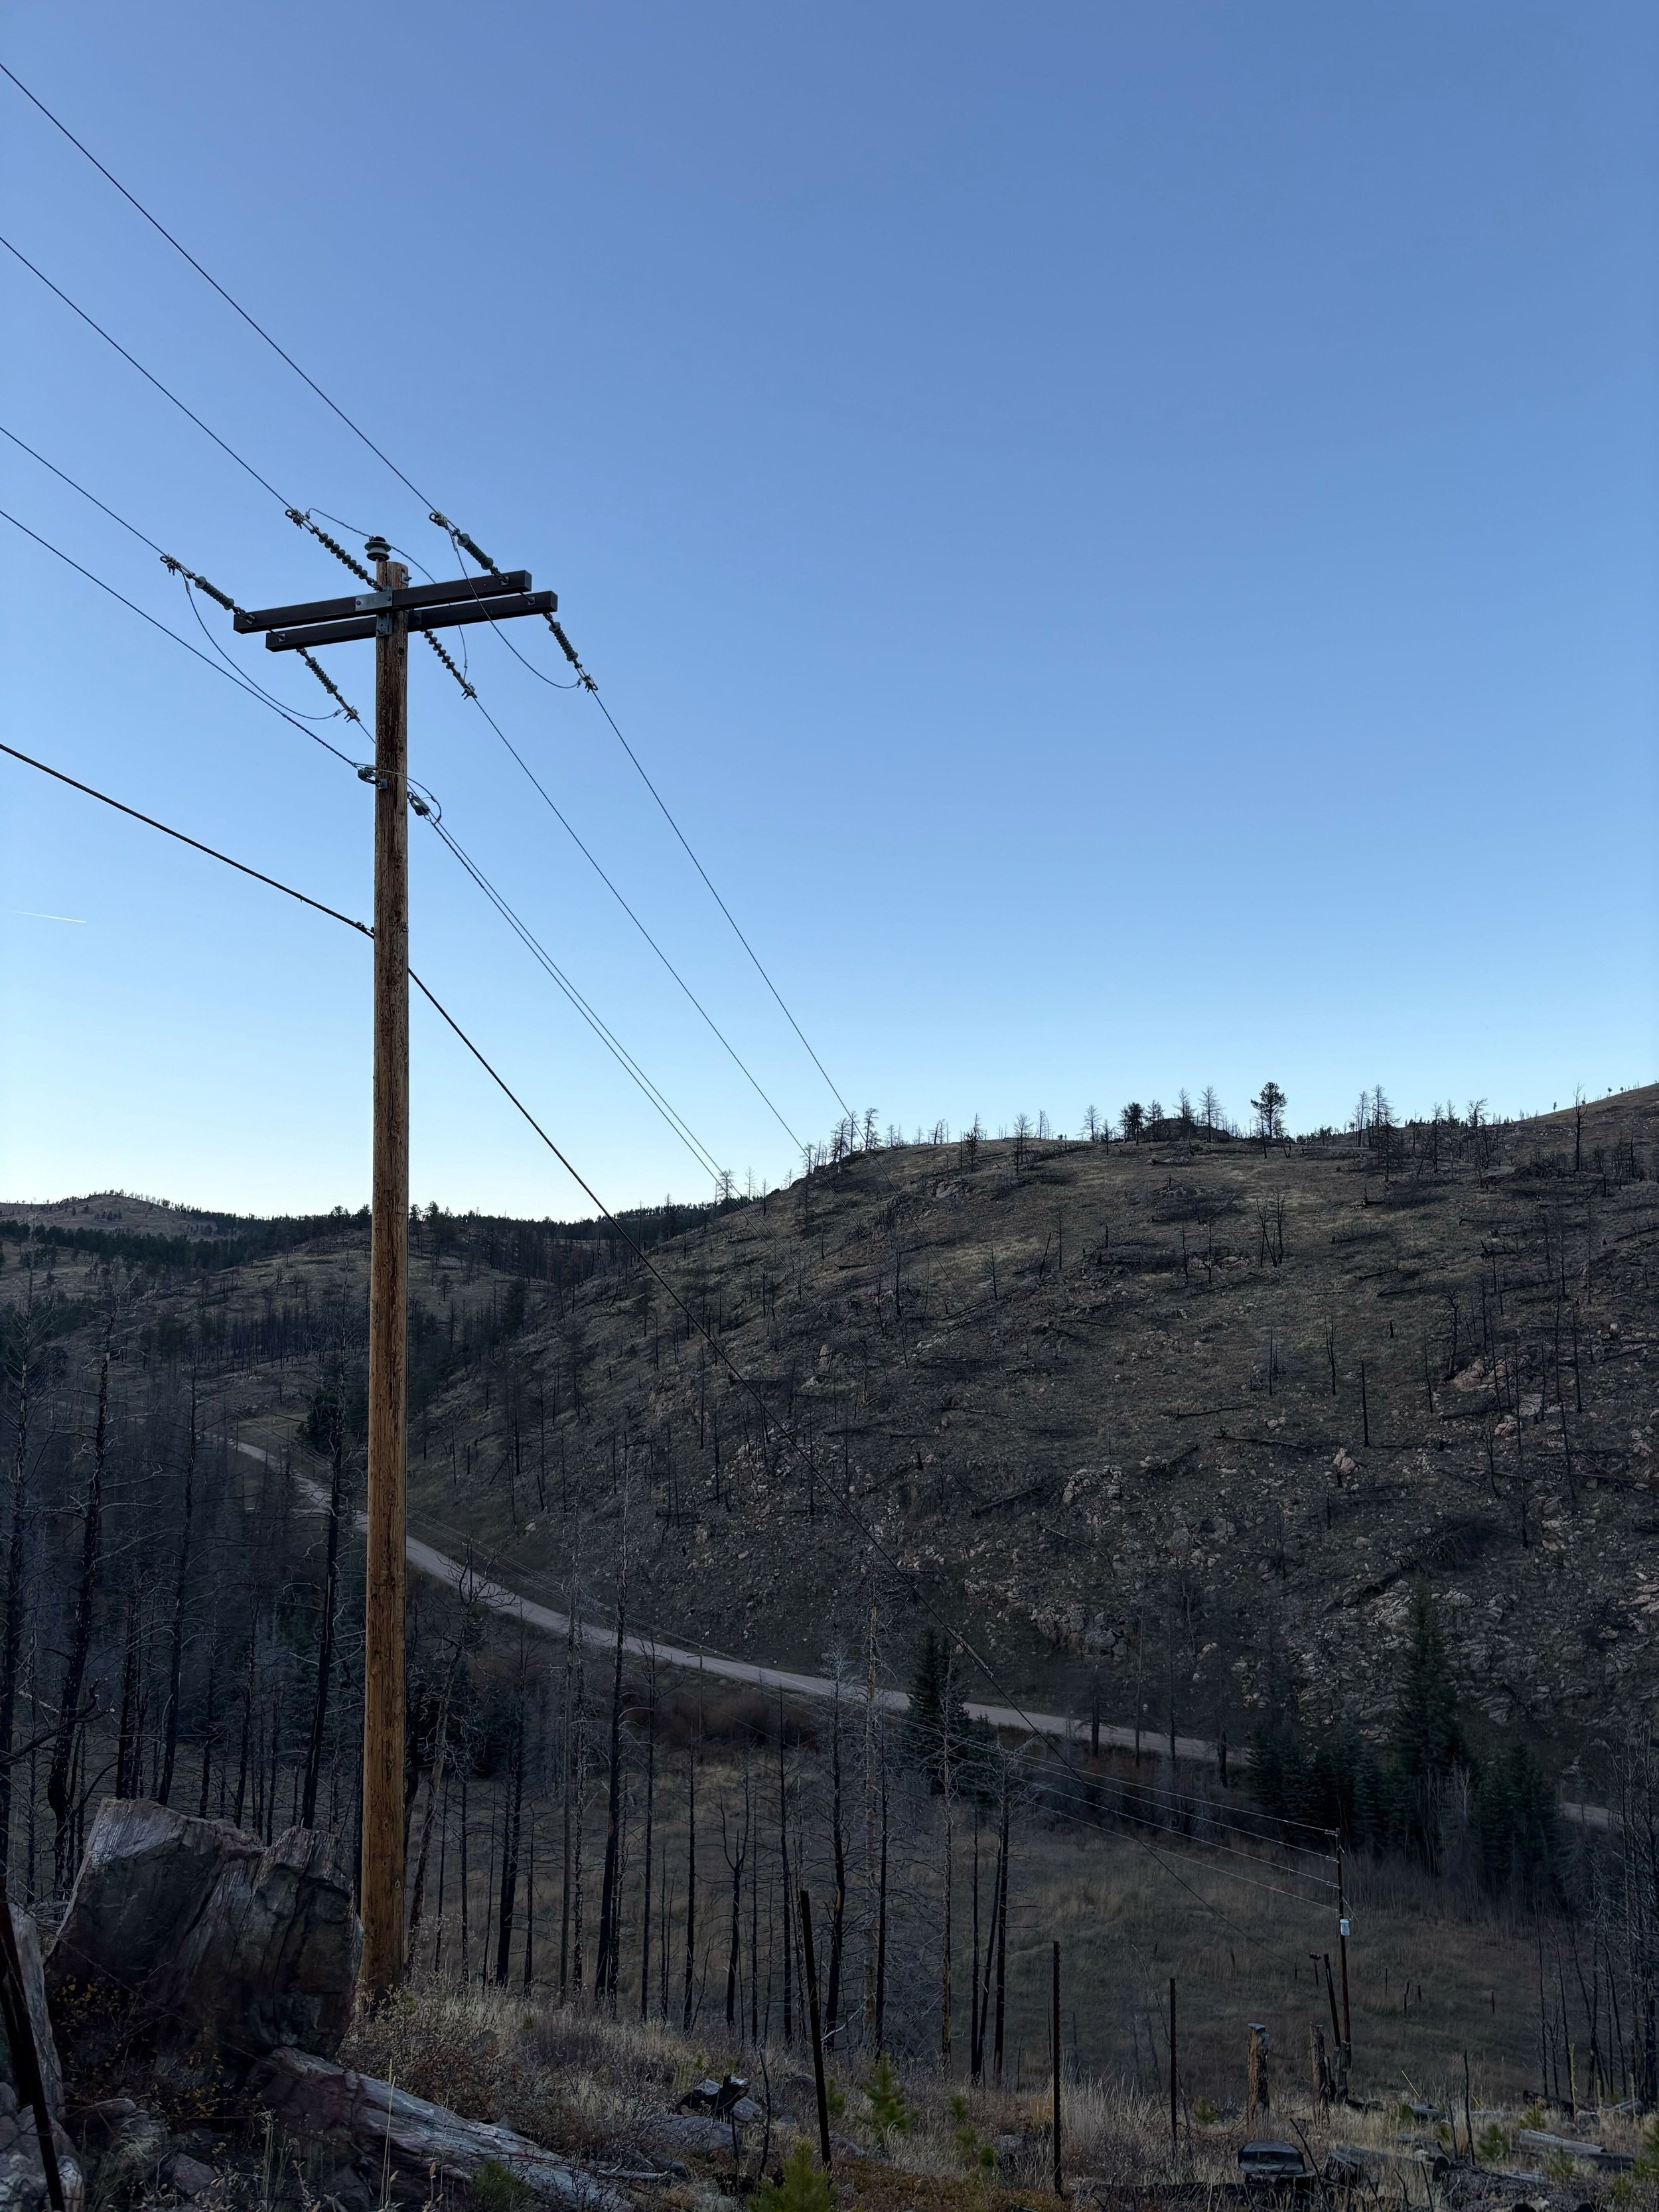
A power pole with a span running down a mountain.
In this post:
Assuming the wrong conductor temperature
Misreading the sag chart
Confusing initial vs. final sag/tension
Pulling off the wrong ruling span
Eyeballing sag instead of measuring it
Over-tensioning during hot-weather stringing
Ignoring NESC loading-district requirements
Not accounting for conductor creep or aging
In-Field Sag and Tension Mistakes
1. Assuming the Wrong Conductor Temperature
Sag charts are built around conductor temperature, not air (ambient) temperature. Solar heating and current load can push actual conductor temperature well above what a thermometer reads on-site. Pull tension off an assumed temperature instead of the conductor's actual one, and the target sag for that section is off before the first span is strung.
2. Misreading the Sag Chart
Stringing tables typically carry several temperature columns, plus separate initial and final values for a given ruling span. Grabbing a number from the wrong column—the wrong temperature row, or a value meant for a different span length—is one of the most common gaps between paperwork and field execution. The result isn't a single bad pole; it's every span strung off that same misread chart.
3. Confusing Initial vs. Final Sag/Tension
Stringing tables distinguish initial sag (measured right after installation) from final sag (after the conductor has crept and settled over months or years under tension). Using the initial value as if it were the long-term target—or the reverse—produces a line that looks correct at hookup but drifts out of spec as the conductor continues to elongate.
4. Pulling Off the Wrong Ruling Span
Ruling span assumes tension is shared roughly evenly across a run of similar spans between dead ends. When a section has uneven span lengths or terrain—a road crossing, a dip, a sharp change in elevation—and gets treated as one uniform ruling span anyway, tension doesn't actually equalize the way the math assumes. Some spans end up tighter than intended, others looser, all within the same section.
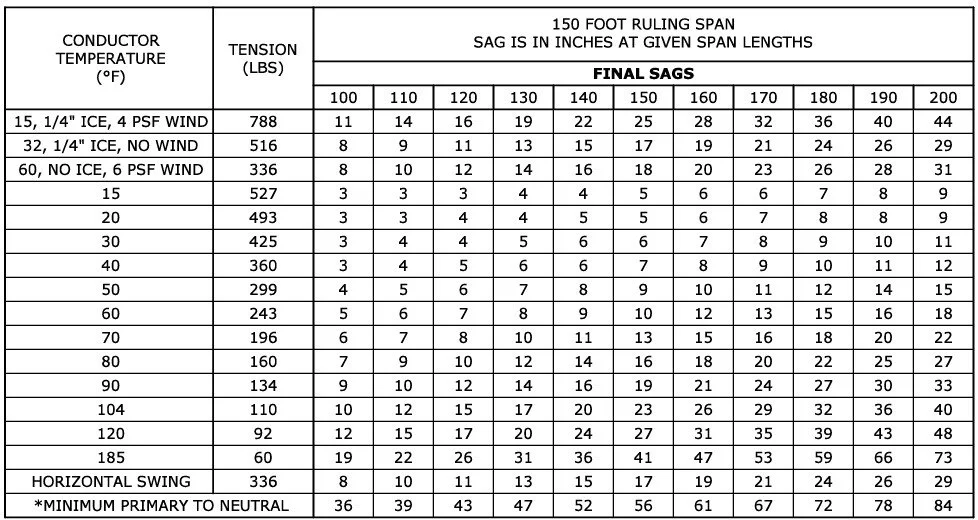
A conductor sag chart shows the range of factors that affect sag and tension.
5. Eyeballing Sag Instead of Measuring It
Visual estimation or stopwatch timing introduces reaction-time and judgment error that adds up fast, especially on longer spans where a small misjudgment translates to real feet of sag. It's the kind of mistake that passes a "looks about right" field check and only becomes visible once someone measures it properly after the fact.
6. Over-Tensioning During Hot-Weather Stringing
On a hot day, the correct target sag is actually looser than it would be on a cool day—the line still has to survive winter contraction without exceeding its design tension. A crew that misreads the chart or pulls tighter than spec because the line "looks loose" in summer heat, sets up a line that gets pulled even tighter once temperatures drop. That's how tension climbs past a structure's design limit months after installation, and how improper construction-time tensioning can accelerate long-term conductor creep on top of it.
7. Ignoring NESC Loading-District Requirements
Everyday-condition sag isn't always the governing case. NESC loading districts factor in combined ice and wind loading that can demand significantly more sag margin than a mild-weather calculation alone. Skip that governing case, and a line can be technically compliant on a clear October afternoon and undersized the first time it's loaded the way code assumes it will be.
8. Not Accounting for Conductor Creep or Aging
Treating existing, already-settled conductor the same as new conductor misjudges how a line will behave. This shows up most often when splicing into or extending an older line: the new conductor still has creep ahead of it, while the old conductor has largely already settled, and the mismatch shows up as uneven sag right at the splice point.
Where Precision Comes From
Most of these mistakes trace back to one of two points in a line's life: the moment it's built, and every point after where someone needs to verify it's still behaving as designed.
Dynamometers
During construction, the solution many of the common sag and tension mistakes is real-time tension feedback instead of a manual chart read. Our Power Line Dynamometers sit in-line with the conductor during stringing and sagging, so crews see actual applied tension as they pull rather than assuming the chart target was hit. Span length, wire type, and conductor or ambient temperature are entered into the Vulcan Line Tools app up front, and the dynamometer does the rest. This directly guards against #2, #3, #4, #6 and #8.
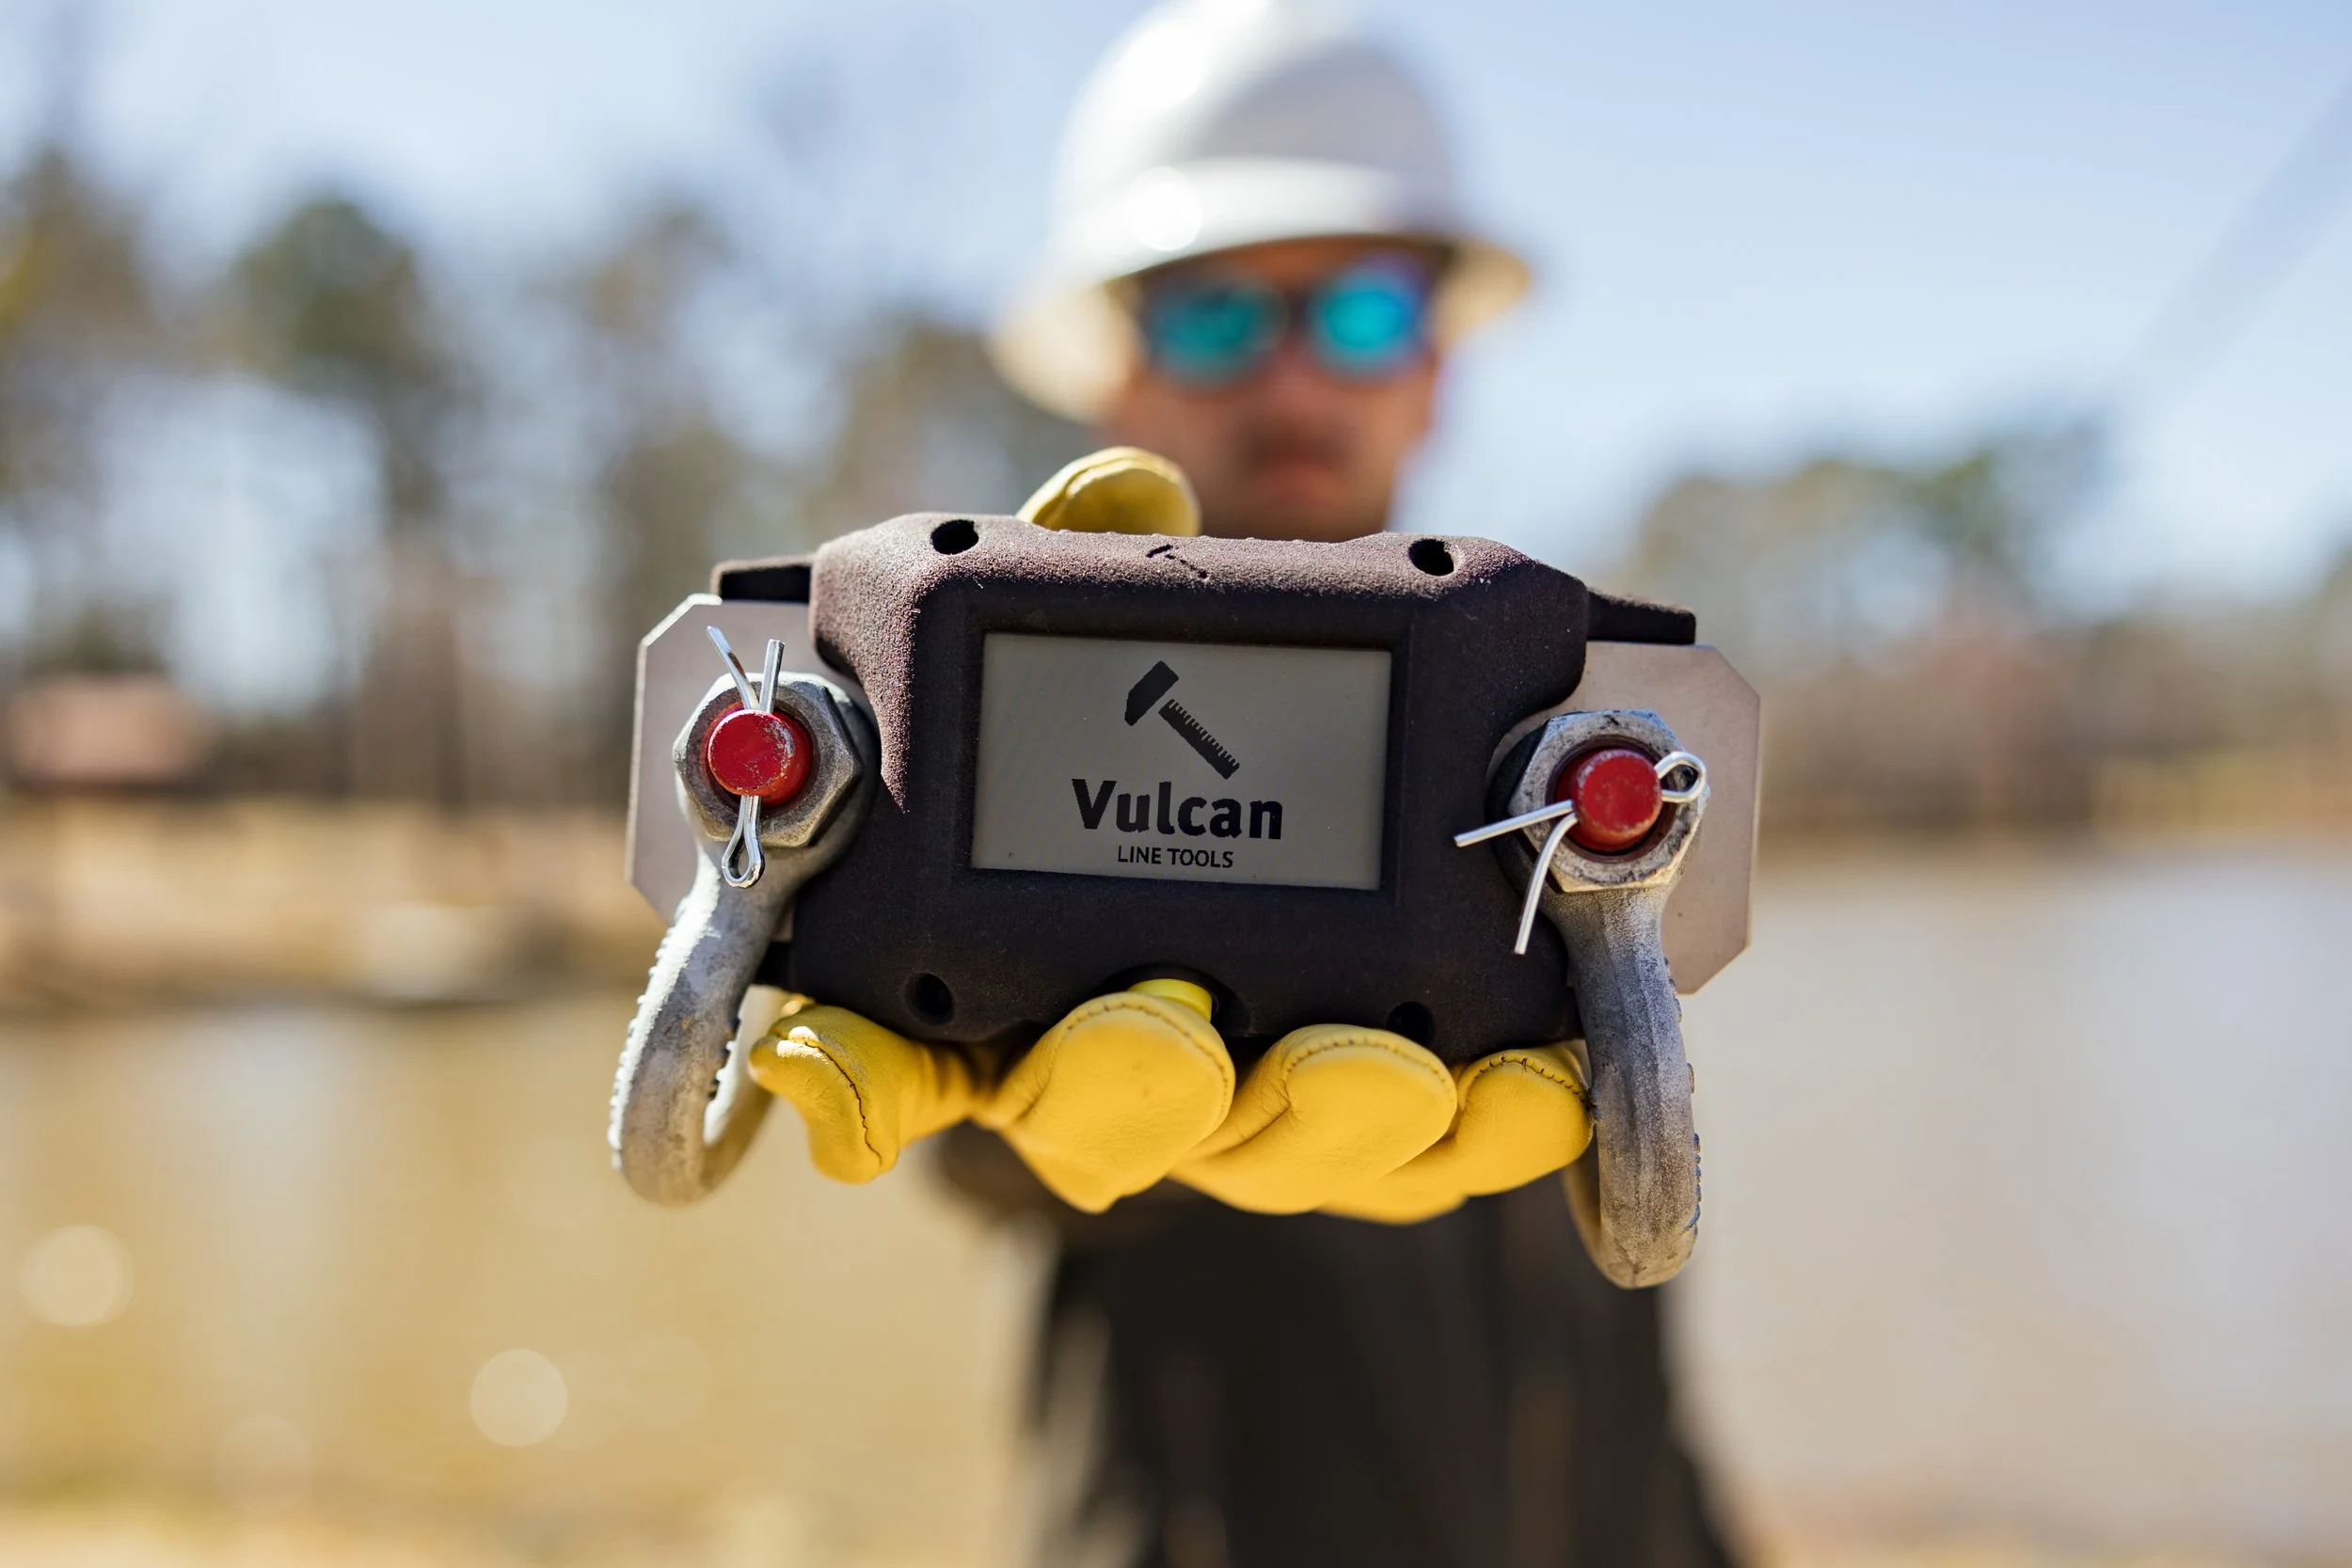
A VLT Dynamometer.
The WaveTimer
After the line is up, tension is something that must be verified. That's what The WaveTimer is for. A standard jerk test produces a measurable wave that gives a tension reading, while an onboard infrared sensor captures the conductor's temperature instead of an assumed one. That's a direct answer to #1, #5, #6 and #8—the mistakes that come from measuring conductor behavior indirectly, or not measuring it at all.

The VLT WaveTimer during a jerk sag-test.
Together, our tools mitigate the risk of all the most common sag and tension mistakes. Pair this risk mitigation with exceptional ease of use and the benefits of streamlined, digitized tools and the benefits become apparent.
For the physics behind why sag and tension move in the first place, see 5 Factors That Throw Off Sag and Tension in Overhead Conductors. For calculation methods and field tools side by side, the Sag and Tension page has the full picture.